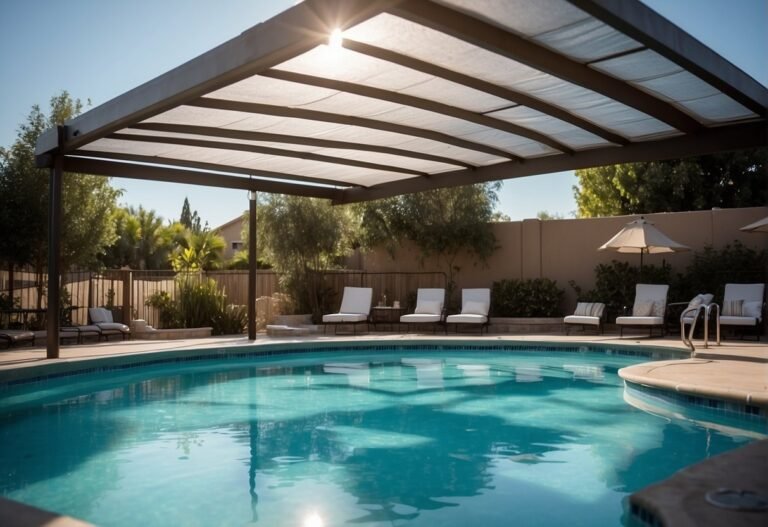
Imagine diving into the crystal-clear waters of your very own swimming pool, a sanctuary crafted by your hands. Yes, a DIY swimming pool that transforms your backyard into a personal oasis.
This isn’t just a dream; it’s a project within your reach. Let’s embark on this journey together, turning your space into a haven of relaxation and joy. Ready to dive in?
Planning Your DIY Swimming Pool
Imagine transforming your backyard with your very own swimming pool. The thrill of handpicking every detail makes the endeavor not just a personal triumph, but a summer oasis that’s truly mine. I’m thrilled to guide you through the initial steps of planning your DIY swimming pool.
Gathering Ideas
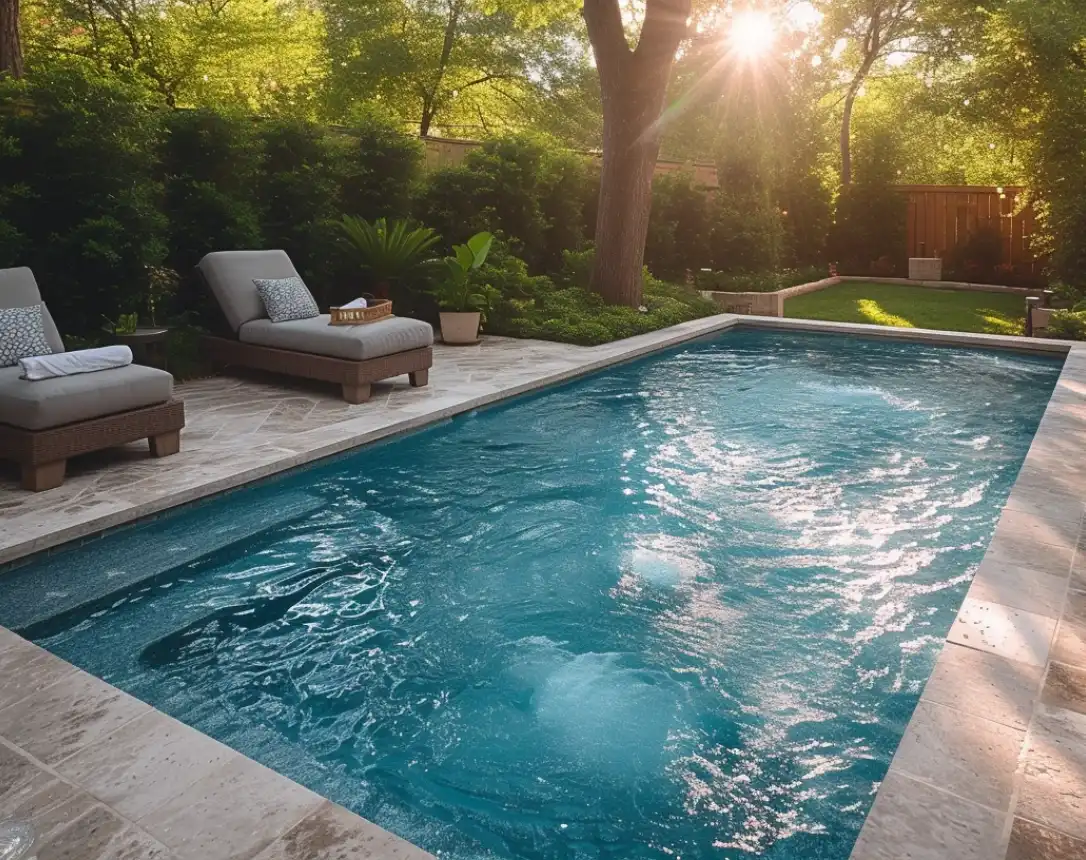
First things first, I always draw inspiration for the style and aesthetics of my pool. Browsing through designs, I consider both my personal taste and the architectural style of my home.
- Contemporary Rectangular
- Classic Roman
- Freeform Natural
Selecting the Perfect Spot
The location in my backyard is crucial and involves several key factors:
- Sunlight exposure for warm lounging spots
- Proximity to trees to minimize leaf debris
- Ease of access from my home
Considering the Scale
The dimensions of the pool must fit comfortably within the space of my yard, respecting boundaries and allowing room for landscaping or patio. A scaled drawing helps visualize the pool in relation to my home.
Building Requirements
Before I grab my shovel, I research local building codes. Obtaining a building permit is essential, as the authorities stipulate safety standards and setbacks.
Budgeting Wisely
Building a pool is an investment, and I am thorough in my financial planning. I itemize costs for materials, equipment, and potential contractors.
Soil and Access
Understanding my soil type is important, as it impacts excavation and construction methods. I ensure there’s access for machinery required during the building process.
Securing Permits and Preparing the Site
When I first thought about building my own swimming pool, I couldn’t wait to dive into the project! Imagining the splash and laughter in my backyard, I knew the first step to turning my dream into reality was navigating the legal aspects. Planning is crucial; I needed a building permit before any excavation could begin. It’s a safety net that ensures my project complies with local zoning laws, property lines, and construction codes.
First off, I visited my local council to discuss my plans. It’s essential to understand the specifics of the soil and potential impact on my property and neighbors. Once I received the green light for a permit, I called in a contractor to survey my backyard. Mapping out the excavation area, they ensured it’s set away from property lines and underground utilities.
The preparation phase was about more than just digging—it was about setting a solid foundation with the right soil and gravel. We checked the soil’s stability, and where needed, brought in gravel to create a firm base. Below is a snapshot of this journey:
- Permit Acquisition: Visit local authorities
- Site Survey: Hire a contractor to assess the backyard and mark boundaries
- Soil Testing: Ensure soil stability for pool structure
- Groundwork: Lay gravel as necessary for a dependable foundation
As I made each step, the excitement built up! Each checklist item brought me closer to the refreshing oasis I envisioned. Let’s just say, securing permits and preparing the site was a plunge worth taking in the exhilarating adventure of DIY pool construction!
Choosing the Right Materials and Tools
Building my own swimming pool, I’ve discovered that selecting the proper materials and tools is not just important—it’s crucial to the success of my DIY project. It’s about matching durability with aesthetics to achieve that unforgettable backyard oasis.
Materials:
- Concrete: for a permanent and durable structure.
- Fiberglass: for a sleek, moldable option.
- Liners: including synthetic liners or bentonite clay, to ensure water retention.
- Rocks: for naturalistic edging or rock pools.
Tools:
- Shovel: for excavation.
- Trowel: for smoothing concrete.
- Drill: with various bits for assembling pallets or other structures.
- Saw: for cutting materials to size.
For a contemporary twist, Shipping Container Pools or Modpools provide an innovative alternative, utilizing the strength and portability of containers. If you’re considering something less traditional, pallets can offer a cost-effective and creative approach—sturdy enough to frame a pool and flexible for unique designs.
Finally, don’t skimp on quality tools; they’re the backbone of my DIY success, ensuring that every element of my swimming pool is crafted with precision. By carefully choosing the right materials and tools, my dream pool transitioned from a vision to a backyard reality.
Constructing the Pool Structure
I’ve always dreamed of having my own inground swimming pool, and guess what? It’s totally possible to DIY it! Let’s dive straight into constructing the pool structure, where the magic begins.
First, outline the pool area carefully, considering the size and shape you desire. Now, for a concrete pool, I’d get ready to excavate: This means digging out the soil to the desired depth of the pool. It’s dirty work, but it’s also pretty exciting to see the hole take shape!
Next, it’s time to set up the framework. Steel rebar is essential—it’ll reinforce the pool walls and floor. I’d install these vertically and horizontally, creating a grid-like pattern. Once that’s in place, a gunite—a special concrete mixture—gets sprayed over, adhering to the steel structure, making the basin super strong.
If I go with fiberglass, the process is somewhat different. I’d still excavate but instead of building with concrete, I would lower a pre-molded fiberglass shell right into the hole. Sure, it’s less customizable, but the installation is lightning fast!
For both types, remember to install plumbing lines before finalizing the structure. And, don’t forget about the electrical work – lighting and pool equipment need power. Safely installing this is crucial. It’s where DIY can get tricky, so I always consider consulting a professional for this part.
By taking it step by step, I’m turning the dream of my perfect DIY inground swimming pool into a reality. It’s not just constructing a pool; it’s about making a splash with every single tile and drop of water that fills the new summer hotspot in my backyard!
Designing and Installing Filtration and Plumbing Systems
I’m always thrilled to tackle the heart of any thriving DIY pool project: the filtration and plumbing systems! Without a doubt, these components are critical for clear, clean swimming water. Here’s the deal, the right filtration system is a life-saver for keeping your pool inviting.
Firstly, we’ll need a high-quality pump. The pump is paramount for water circulation, propelling the water through the filtration system. I recommend opting for a pump that matches your pool size – this ensures efficient and energetic water flow, keeping our pools lively!
When we talk about plumbing, we’re discussing the veins of our pool. PVC pipes are generally the go-to, given their durability and ease of installation. Glue them securely, and remember to integrate valves for easy maintenance. A pro tip: sketch your plumbing layout before starting – it’s a game-changer!
For filtration, the options vary, but sand and cartridge filters are popular for their simplicity and effectiveness. A well-sized filter, teamed with our pump, keeps impurities at bay.
Finally, the installation! This is where I’m hands-on, meticulously connecting our components, ensuring every seal is spot-tight and every joint is precisely glued. Trust me, attention to detail here means a breezy pool season ahead.
So, get excited to dive into this phase, because when our systems are in sync, our pool becomes the perfect escape – and that, my friends, is pure joy!
Adding the Finishing Touches
When I reached the final phase of creating my dream swimming pool, the excitement was palpable. Imagine transforming that backyard into an exquisite oasis with just a few more details. Let’s dive into the essentials!
Surface & Pool Finish: I chose a smooth, durable finish that reflects light beautifully. It’s vital to select a quality surface that complements your overall design and enhances the pool’s aesthetics.
Lights: I installed energy-efficient LED lights to ensure my evening swims are both safe and magical. Subtle lighting around the pool can set a tranquil mood or make your space vibrant for the parties to come.
Stairs: Sleek, easy-access stairs were a must for me, ensuring safety without compromising on style. Integrating them seamlessly with the pool design keeps the flow natural.
Features: From the gentle sound of a waterfall to the joy of a slide, adding features brings out the spirit of a natural swimming pool. I handpicked accessories that didn’t just look good but created a multisensory experience.
- Natural Swimming Pool: To keep things eco-friendly, I opted for plants that filter the water naturally, embracing the feel of a serene, natural lagoon.
My backyard now feels like a private retreat, a place where accessories, lighting, and landscaping come together to create not just a swimming pool but an experience. Every detail, every choice, culminates in this personal paradise I’ve constructed. It’s my ultimate backyard oasis, and I can’t wait to enjoy every moment here.
Pool Maintenance and Care
I can’t begin to express how invigorating it feels to dive into my sparkling clean pool on a hot summer day! To keep that freshness, pool maintenance is crucial. Let me walk you through some essentials to ensure your aquatic retreat remains a haven for endless fun.
Weekly Maintenance Checklist:
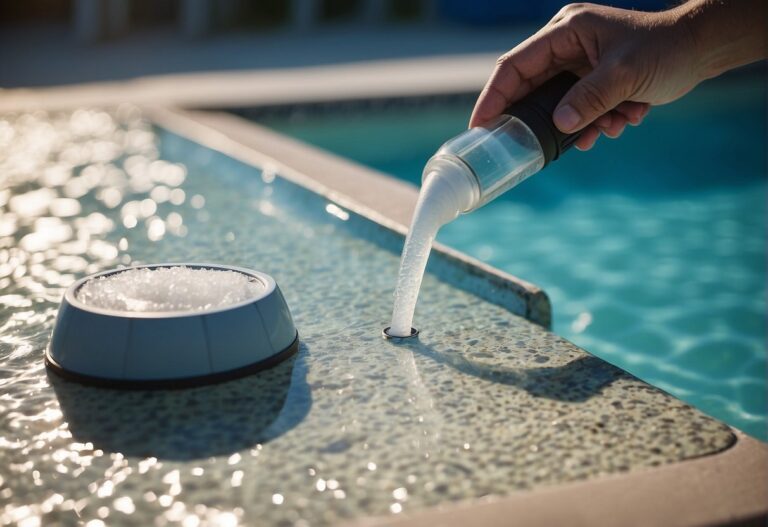
- Check pH Levels: A pH balance between 7.2 and 7.8 is perfect for a refreshing dip.
- Chlorine Levels: Aim for 1-3 ppm to effectively sanitize and prevent bacterial growth.
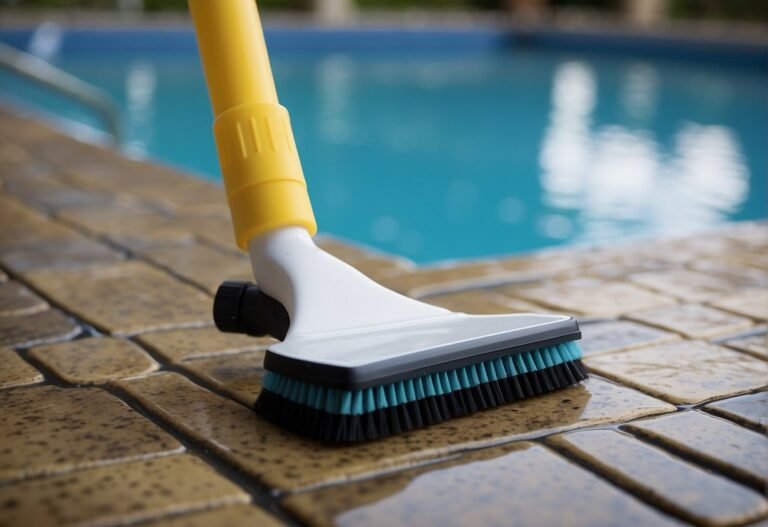
- Algae Prevention: Brush walls weekly, even if algae aren’t visible.
- Filtration System: Clean and backwash your filter regularly to keep the water crystal clear.
Monthly Must-Do’s:
- Inspect your pool liner for any damage to avoid leaks.
- Test for stabilizer levels to ensure the chlorine remains effective under the sun’s heat.
Pro Tips:
- Use a tennis ball to absorb oils from sunscreens and lotions.
- Schedule professional servicing annually for a comprehensive health check of your pool systems.
Maintaining a pool indeed involves a commitment to regular care, but believe me, the reward is immeasurable when it’s your own idyllic oasis. My routine keeps my backyard escape in pristine condition, and yours can be just the same!
Extra Features for Your DIY Pool
I’m thrilled to share some fantastic add-ons that will transform your backyard pool into an oasis! First things first, lighting can make all the difference. Imagine soft, underwater LED lights that change colors, offering a magical touch for your nighttime swims. I find that integrating lights not only brightens the pool but also sets a captivating mood for those warm summer evenings.
When it comes to family fun, a custom slide or a floating deck can add hours of entertainment. I love the idea of wooden decks that blend seamlessly with garden landscapes, enhancing the natural look of an above-ground swimming pool or even an inground one. It’s all about creating that perfect outdoor environment where memories are made.
Incorporating landscaping around your pool can involve anything from lush plants to rustic stock tanks that double as planters. I’ve seen some backyards with stunning, natural-looking rock formations or fiberglass pools with built-in plant beds. The right foliage can ideally frame your pool, providing a great garden view from the pool’s windows.
Thinking of a more practical aspect, a durable tarp is a must-have to protect your pool. Above-ground or inground, it guards against debris and keeps the water clean. If you’re into the stock tank pool trend, why not edge it with wooden accents for a quaint, country feel? There’s so much more we can do to make our pools the heart of the backyard. Let’s get creative and make our outdoor spaces truly our own!
Safety and Legal Considerations
When I embarked on my DIY swimming pool project, I was bursting with excitement! But I quickly realized there are important safety and legal hoops to jump through before diving in.
Electrical Safety: This aspect is paramount. I made sure to research local codes on electrical installations because mishandling can lead to shocking outcomes. Ensuring all wiring is done by a certified electrician and following the National Electrical Code (NEC) is non-negotiable for the safety of my family and friends.
California Regulations: Trust me, it’s crucial to be in the know about state-specific rules. In California, for example, there are specific guidelines that must be followed for pool construction, like maintaining a certain distance from power lines.
- Residential Building Permit: I learned that obtaining this permit is a must before starting construction. It verifies that my pool plans are compliant with local zoning and building codes.
- Pool Contractor: Although I love a good DIY challenge, I decided to hire a licensed contractor for parts of the job. It ensures that the pool is built safely and up to code, reducing the risk of future liability.
Creating my own pool has been an electrifying journey, and paying attention to the safety and legal aspects is definitely making it a success without any nasty surprises!
FAQ – Frequently Asked Questions
How much does a DIY swimming pool cost?
Building your own pool can significantly cut costs, ranging from a few thousand dollars to $15,000+, depending on size and materials.
Is it legal to build a DIY swimming pool?
Absolutely, but you must obtain the necessary permits and adhere to local building codes and regulations.
How long does it take to build a DIY swimming pool?
Patience is key! The process can take several weeks to a few months, based on complexity and your dedication.
Dive into the joy of creating your DIY swimming pool and transform your backyard into a paradise. Thanks for swimming through our guide—share your thoughts below or splash into our conversation on Instagram and Pinterest!

